While I have been playing around with my latest new stamp set, I came across the latest Just Add Ink challenge (JAI 66 - Just Add A Flower). My hydrangeas fit this challenge beautifully. :-)
I like these latest two cards. I used blender pens instead of watercolouring this time. I made a couple of mistakes, which I had to cover up. One cover up resulted in a nicer card, the other not so successful!
Here is my challenge entry:
Gee, it's hard to photograph white on these grey days we've been having lately! I probably should have chosen a different colour background. That pink doesn't work! The little flowers with the diamantes are popped up slightly, also.
This card uses (all Stampin' Up!):
Stamps - Because I Care
Paper - Whisper White, Washington Apple DSP
Ink - Basic Black, Bashful Blue
Ribbon - Daffodil Delight taffeta
My other card for today is similar, because I was working on a theme. Here it is:
And a close up to give you some idea of the levels:
This card uses:
Stamps - Because I Care
Paper - Whisper White, Tea Party DSP
Ink - Basic Black, Almost Amethyst
Ribbon - Pretty in Pink grosgrain
I hope you like these latest efforts. Thanks for coming by to take a look.
Michelle
xxx
Saturday, 30 April 2011
Monday, 25 April 2011
Mothers Day is coming
It just hit me yesterday just how close Mothers' Day is! This late Easter is throwing my timing out, oops! So today, I sat down and started thinking about Mothers' Day cards. I have two designs, one which I quite like and the other that hasn't grabbed me just yet. I am thinking of giving it another go and coming up with a third design. Take a look and let me know what you think.
I have used the Stampin' Up! stamp set Because I Care, which is new for me. I just put the rubber on the blocks today. :-)
The first one:
Ink: Basic Black, Cameo Coral, Ruby Red, Creamy Caramel
The second one:
Paper: Watercolour, Pretty in Pink, Old Olive, Very Vanilla
Ink: Pretty in Pink, Cameo Coral, Old Olive, Basic Black, Creamy Caramel
Ribbon: Old Olive Taffeta
So what do you think?
Michelle
xxx
I have used the Stampin' Up! stamp set Because I Care, which is new for me. I just put the rubber on the blocks today. :-)
The first one:
Paper: Watercolour, Cameo Coral, Ruby Red, Old Olive
Ink: Basic Black, Cameo Coral, Ruby Red, Creamy Caramel
The second one:
Paper: Watercolour, Pretty in Pink, Old Olive, Very Vanilla
Ink: Pretty in Pink, Cameo Coral, Old Olive, Basic Black, Creamy Caramel
Ribbon: Old Olive Taffeta
So what do you think?
Michelle
xxx
Watercolour technique class
Several weeks ago I attended a watercolour technique class. I had fun! I still have one card left to complete, and I am eagerly awaiting the time that I and my stamping friends have the time to catch up to work on it. :-) I am showing you the three cards I did have time to complete. The designs are by my friend Manda, the watercolouring is all mine. I thought I'd better put pictures up of these before I give them all away. . .
I like this little truck. The hub caps, bumpers, and lights are shiny metallic.
After making this little monster, I have these monsters on my wishlist. Cute!
Tess is very cute. Check out Manda's paper-pieced version.
Watercolouring is great fun. It is a more complex version of the colouring in I enjoyed as a young girl. I hope you like these cards.
Michelle
xxx
Sunday, 17 April 2011
Kourabiethes
Mmmm, yum! Kourabiethes (Greek shortbread) are one of my absolute favourite biscuits to bake. I love all sorts of shortbread, but these little darlings are perfectly to my taste. After making a batch this evening, I thought I'd share the recipe so that you can share in this melt-in-your-mouth delight!
Kourabiethes
(I make between 40 and 50 biscuits with this recipe)
Ingredients
250g butter
2 x cups pure icing sugar - 1 for the mixture and 1 for dusting afterwards - you need to sift it
2 tsp vanilla essence
Orange zest (grated rind) from one orange
1 x egg
2 1/2 cups plain flour
1 tsp baking powder
1/2 cup almond meal
Before I tell you how to put these together, let me just say one thing: Working with pure icing sugar can be frustrating because it is hard to sift. Sifting the sugar is the one thing that stops me making these all the time. LOL. You CAN'T not sift it though, it's a bit like chunks of sweet rock before sifting sometimes.
Method
- Beat butter, 1 cup sifted sugar, vanilla, and orange zest together until light.
- Beat egg into butter mixture.
- Sift flour and baking powder and add to mixture with almond meal.
- Mix everything together until the mixture is combined (it might still look crumbly, but the mixture will stick together when you roll it into balls).
- Take spoonfuls of mixture and make logs/snakes about 7cm long. I find that making the logs from a ball of dough is easiest.
- Curve the log into a crescent and place on baking tray.
- Bake at about 160 degrees for about 15 - 20 minutes (until starting to turn slightly golden).
- Place the other cup of sifted icing sugar in a bowl and coat the biscuits while they are still warm. I always find I have some sugar left over in this bowl, so I just throw it over the biscuits in their container - it makes them pretty when you take them out later for serving (you might need to shake off some excess sugar!)
If you give this recipe a go, I hope you like it. :-)
Michelle
Friday, 15 April 2011
Cupcakes
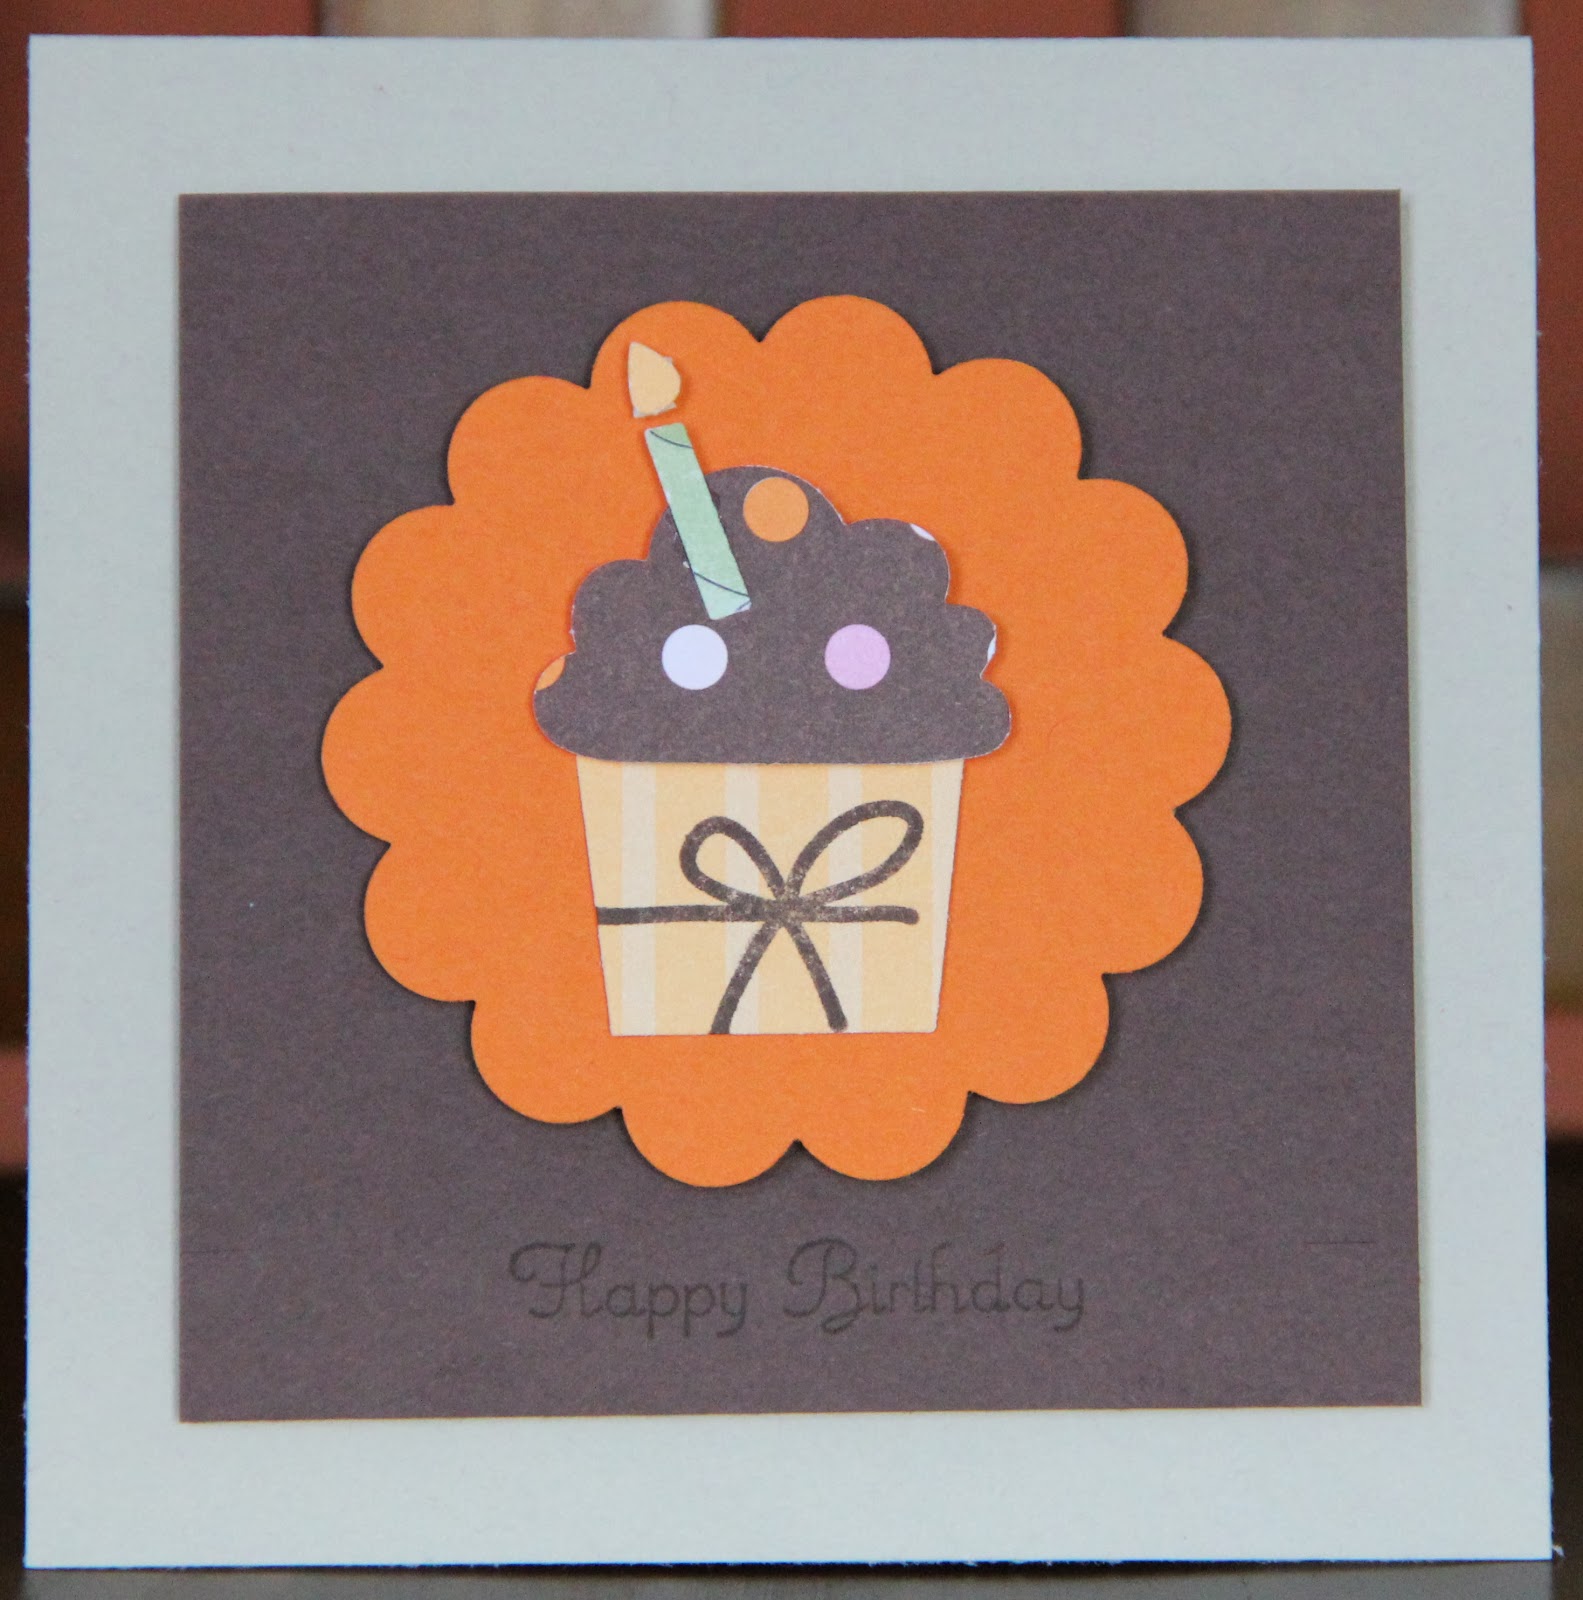
The other day, I received my latest stamping treasures. It has taken me a week to find any time to play with them. But today was the day. Nothing spectacular yet, I was just playing around with colours and seeing how the stamps and the punch worked together before moving on to something a bit more exciting. Since it has been a long, long time since my last post, I am sharing my experiments with you as a little wave HELLO.
On another note, I can't resist sharing this little Easter gift I received from my very talented friend, Manda. I love this idea, the base is already keeping my pens safe at my desk. The "flowers" are sitting in the fridge away from ants. :-)
I hope to be back soon to show you some more cupcake creations!
Michelle
xxx
On another note, I can't resist sharing this little Easter gift I received from my very talented friend, Manda. I love this idea, the base is already keeping my pens safe at my desk. The "flowers" are sitting in the fridge away from ants. :-)
I hope to be back soon to show you some more cupcake creations!
Michelle
xxx
Sunday, 27 February 2011
Peek-a-Boo Taggie Blankie
Today I am feeling very proud of myself! Yesterday I did something brand new for me craftwise - I made a blankie for my new nephew/niece who is going to arrive sometime in the next two weeks. Bub is due next week-end so the countdown is on!
A couple of days ago I was looking for some ideas in blogland, as I often do, and wandered off track from my usual card-making blogs into a sewing blog (usually I wander off track into cooking blogs, so sewing was a nice change!). TaDa Creations is worth a look, especially for little girl ideas. The particular page I ended up on, was about a Ribbon Baby Blanket. I have always wanted to make one of these. My littlest girl would have LOVED a blanket full of tags, she's eaten the tags off just about all of hers over the past three years! So I had the best excuse with my nephew/niece arriving soon, to test out my non-existent quilting skills. :-)
This is the end result:
So right now I will point out that this is my very first ever attempt at ANYTHING resembling quilting. I was so pleased with myself I am going to make more of these little comfort blankies and I am also going to attempt a bigger quilt for my big girl, at her request. (I love it when my girls like my projects so much they want one for themselves.)
Not knowing if the baby is a boy or a girl, I tried to go a bit gender neutral on the colours. I was doing well, until I found these beautiful Japanese print cottons, which are very floral. I looked further around the shop, but I kept coming back to the beautiful blues/purples of these flowers and the lovely smooth, soft cotton fabric. So now I'm hoping that if the baby is a boy, that he doesn't mind some flowers on his blankie. LOL.
I'll give you a little tour through my creative process. Those of you who are quilters, don't judge me too harshly, I didn't follow any instructions for quilting and my sewing machine started having issues with tension a very short way into the project, which has resulted in some stitching issues. I decided to quilt rather than just follow the TaDa Creations instructions because the floral cottons I chose were very fine, and I thought they needed a bit more strengthening to stand up to baby use (and frequent laundering).
While I was out buying fabrics and ribbons, I bought a cutting mat and a rotary cutter. WOW!! I am so, SO glad I bought those. I never knew how fast you could cut out fabric using a rotary cutter. And I used it on the ribbons too. Silly story: The instructions for the rotary cutter say to keep the safety sheath on when not in use because it is sharp. I was thinking "Of course it is sharp, it's a cutter." Well, a word to everyone else about to use one for the first time - rotary cutters are SHARP. When lifting the cutter up from the fabric, I bumped my other hand with the cutter, didn't feel anything, but next second I had to run for a band-aid to keep my fabric clean, oops!
This is the pile I started with:
Such beautiful colours. The florals are fine cotton, soft and smooth. The pale yellow is a baby corduroy, lovely texture that both my girls couldn't keep their hands off. The blue is a thicker/coarser cotton. I was thinking baby experience when choosing textures as well as colours. The ribbons were satin, rick rack, and velvet. I prewashed all fabrics and tumble dried them to pre-shrink.
A couple of days ago I was looking for some ideas in blogland, as I often do, and wandered off track from my usual card-making blogs into a sewing blog (usually I wander off track into cooking blogs, so sewing was a nice change!). TaDa Creations is worth a look, especially for little girl ideas. The particular page I ended up on, was about a Ribbon Baby Blanket. I have always wanted to make one of these. My littlest girl would have LOVED a blanket full of tags, she's eaten the tags off just about all of hers over the past three years! So I had the best excuse with my nephew/niece arriving soon, to test out my non-existent quilting skills. :-)
This is the end result:
So right now I will point out that this is my very first ever attempt at ANYTHING resembling quilting. I was so pleased with myself I am going to make more of these little comfort blankies and I am also going to attempt a bigger quilt for my big girl, at her request. (I love it when my girls like my projects so much they want one for themselves.)
Not knowing if the baby is a boy or a girl, I tried to go a bit gender neutral on the colours. I was doing well, until I found these beautiful Japanese print cottons, which are very floral. I looked further around the shop, but I kept coming back to the beautiful blues/purples of these flowers and the lovely smooth, soft cotton fabric. So now I'm hoping that if the baby is a boy, that he doesn't mind some flowers on his blankie. LOL.
I'll give you a little tour through my creative process. Those of you who are quilters, don't judge me too harshly, I didn't follow any instructions for quilting and my sewing machine started having issues with tension a very short way into the project, which has resulted in some stitching issues. I decided to quilt rather than just follow the TaDa Creations instructions because the floral cottons I chose were very fine, and I thought they needed a bit more strengthening to stand up to baby use (and frequent laundering).
While I was out buying fabrics and ribbons, I bought a cutting mat and a rotary cutter. WOW!! I am so, SO glad I bought those. I never knew how fast you could cut out fabric using a rotary cutter. And I used it on the ribbons too. Silly story: The instructions for the rotary cutter say to keep the safety sheath on when not in use because it is sharp. I was thinking "Of course it is sharp, it's a cutter." Well, a word to everyone else about to use one for the first time - rotary cutters are SHARP. When lifting the cutter up from the fabric, I bumped my other hand with the cutter, didn't feel anything, but next second I had to run for a band-aid to keep my fabric clean, oops!
This is the pile I started with:
Such beautiful colours. The florals are fine cotton, soft and smooth. The pale yellow is a baby corduroy, lovely texture that both my girls couldn't keep their hands off. The blue is a thicker/coarser cotton. I was thinking baby experience when choosing textures as well as colours. The ribbons were satin, rick rack, and velvet. I prewashed all fabrics and tumble dried them to pre-shrink.
First step was to sew four squares together for each side. Sounds simple, but there is a challenge in matching the seams. I experienced beginner's luck and they matched beautifully. Check it out!
Next step was to overstitch the seams. I used this opportunity to stitch the natural cotton batting onto one side of the blankie (I didn't want it moving around during washing later).
Once I had the two sides stitched, I had to pin the ribbons all around the edge and then sew them down to hold them in place before stitching the two sides together. This was the most time-consuming part of the process - selecting the pattern of ribbons and pinning them down evenly and then stitching them STRAIGHT.
Pinning the two sides together, I had to make sure the seams were matching and the ribbons were not getting caught in the seam. If you are going to try this, I'd recommend you look at the tutorial I looked at, and not follow my instructions! You need to leave a little hole to bring it right side out again once you stitch it. Here it is ready to be stitched together:
When I turned it back out the right way and stitched the hole closed, I then stitched a little cross in the middle to hold the two sides together and to prevent too much movement. Don't look too close to the stitching, remember my machine broke down during this process and the stitch tension was all over the place!
Close up of the ribbons:
And a photo of it today in its new home:I'm so happy with this little project. I hope that baby and mummy like this blankie. It's made with lots of love by Aunty Michelle.
So what do you think? Do you like it? Let me know.
Michelle
xxx
Saturday, 12 February 2011
A bit of playing with new stamps
I have a few new stamp sets that I need to try out and I have a couple of cards I need to send, so I decided to play with the new sets and see what I could come up with. Unfortunately, daylight really is necessary for good photos. . . so the photos aren't great, but you'll get the idea. :-)
Both cards are for the same person.
The first one I'll send is this one:
It is just a little card, to send our love in a difficult time.
I used Sweet Summer stamp set with cameo coral, ruby red, garden green, summer sun, and basic black. I used aqua painter on the flower and butterflies (with water colour paper) and blender pen on the green leaves on regular very vanilla cardstock.
The second card is a birthday card, which will be sent in a couple of weeks. I'm pretty certain the person receiving these cards doesn't read my blog, so I'm safe to share my work without spoiling the surprise of the cards!
Both cards are for the same person.
The first one I'll send is this one:
It is just a little card, to send our love in a difficult time.
I used Sweet Summer stamp set with cameo coral, ruby red, garden green, summer sun, and basic black. I used aqua painter on the flower and butterflies (with water colour paper) and blender pen on the green leaves on regular very vanilla cardstock.
The second card is a birthday card, which will be sent in a couple of weeks. I'm pretty certain the person receiving these cards doesn't read my blog, so I'm safe to share my work without spoiling the surprise of the cards!
I really like how this turned out. I originally designed it without the ribbon, but it was missing "something", so in went the ribbon, and it made all the difference. The light hasn't picked up the diamantes on the butterfly, I should probably photograph again in the morning!
Stampset is Bliss, colours are pale plum and perfect plum with elegant eggplant ribbon and whisper white cardstock. I also used Vintage Labels for the sentiment. This card involved a bit of cutting out, I've done it to myself again. The good news is that I am getting better at cutting out.
I hope you like these couple of cards. I have more to make, and hopefully that will happen tomorrow.
Michelle.
Subscribe to:
Posts (Atom)