Tuesday 28 December 2010

Notebooks

Because I was out of time before Christmas to get all my planned activities completed, I have decided that my Christmas gifts for my team at work will be "Seasons Greetings" gifts in the new year.  The thought and heart were there, but I just didn't get the time before I went on holidays to complete the project I planned instead of Christmas cards. 


For each member of my team, I have created the front inside cover of a notebook.  I will write a personal message on the back of this cover for each person, and they will then have my greetings as well as a notebook which will (hopefully) be more useful than a Christmas card, and might even last all year.


Here they are:


They are all different.  I have a particular favourite, but I won't tell you, so that you can choose your own!


I hope you like them, and I hope my team likes them too.  :-)

Here are the larger photos of each.


Christmas

This year the majority of my cards were made at technique classes and at stamp-a-stack sessions with my stamping friends.  This means that the designs were mostly by my friend Manda.  BUT, I did have an idea in mind when Dasher was released, and I worked on it for a while before I came up with my final design.  My idea was blended with an idea I got from one of Manda's cards.  Manda's card is here:


I loved this card, and I did give it away to someone special at Christmas, despite wanting to keep it for myself!  What I came up with for Dasher (the reindeer) this year started as:


and ended up as:


The big thing I learned from making this card was - the more bows you make, the easier they are.  So the next time I'm planning to make bows, I will make them in bulk, because bows are one of my personal challenges (along with cutting out).

I didn't get all my cards out this year, but I live in hope that one year I will make all the cards and send them in time as well!

I hope you all had a very Merry Christmas and that you have a wonderful New Year!

Michelle
xxxxx

Little Boy Birthday

This is a post I meant to make before Christmas, but time slipped away from me.  So now I have a couple of posts to catch up on!

This little card was another of my playing with my alphabet.  It was for one of my little girl's favourite friends.  I almost didn't get a photo of it, and this one was taken on the dashboard of my car before we went into the party!  I really love the way the monkey hangs from the balloon, and I can see myself using this idea again. 


Everything is Stampin' Up other than the alphabet. 
DSP:  Washington Apple
Colours: Barely banana, Pumpkin Pie, Bashful Blue, Ruby Red

Sunday 14 November 2010

Boy Birthdays

I haven't had a second to do any stamping lately, and Christmas is looming!  But, I had a couple of birthdays to make cards for this week-end, so out came my gear.  Recently I picked up a simple alphabet from Kikki-K and I played with that for these cards.

The first was a 3rd birthday for one of my little girl's friends - the party was yesterday and I put the card together in about 30 minutes just before we had to go, phew!  My little girl watched me make it and when it was finished she declared, "Oh, that's beautiful, Mummy!"  That put a smile on my face.  :-)  

Colours are (all SU) Whisper White, Bashful Blue, Night of Navy, and Sage Shadow. 


The second is a birthday card for my brother (who I don't think reads my blog, but if he does, "the card's in the mail").  This card emerged from an idea I had in my head that I had trouble translating to paper.  Although not what I originally imagined when designing the card, and due to the challenge of translating my concept to paper, I ended up with something different to my usual style, and I quite like it. 

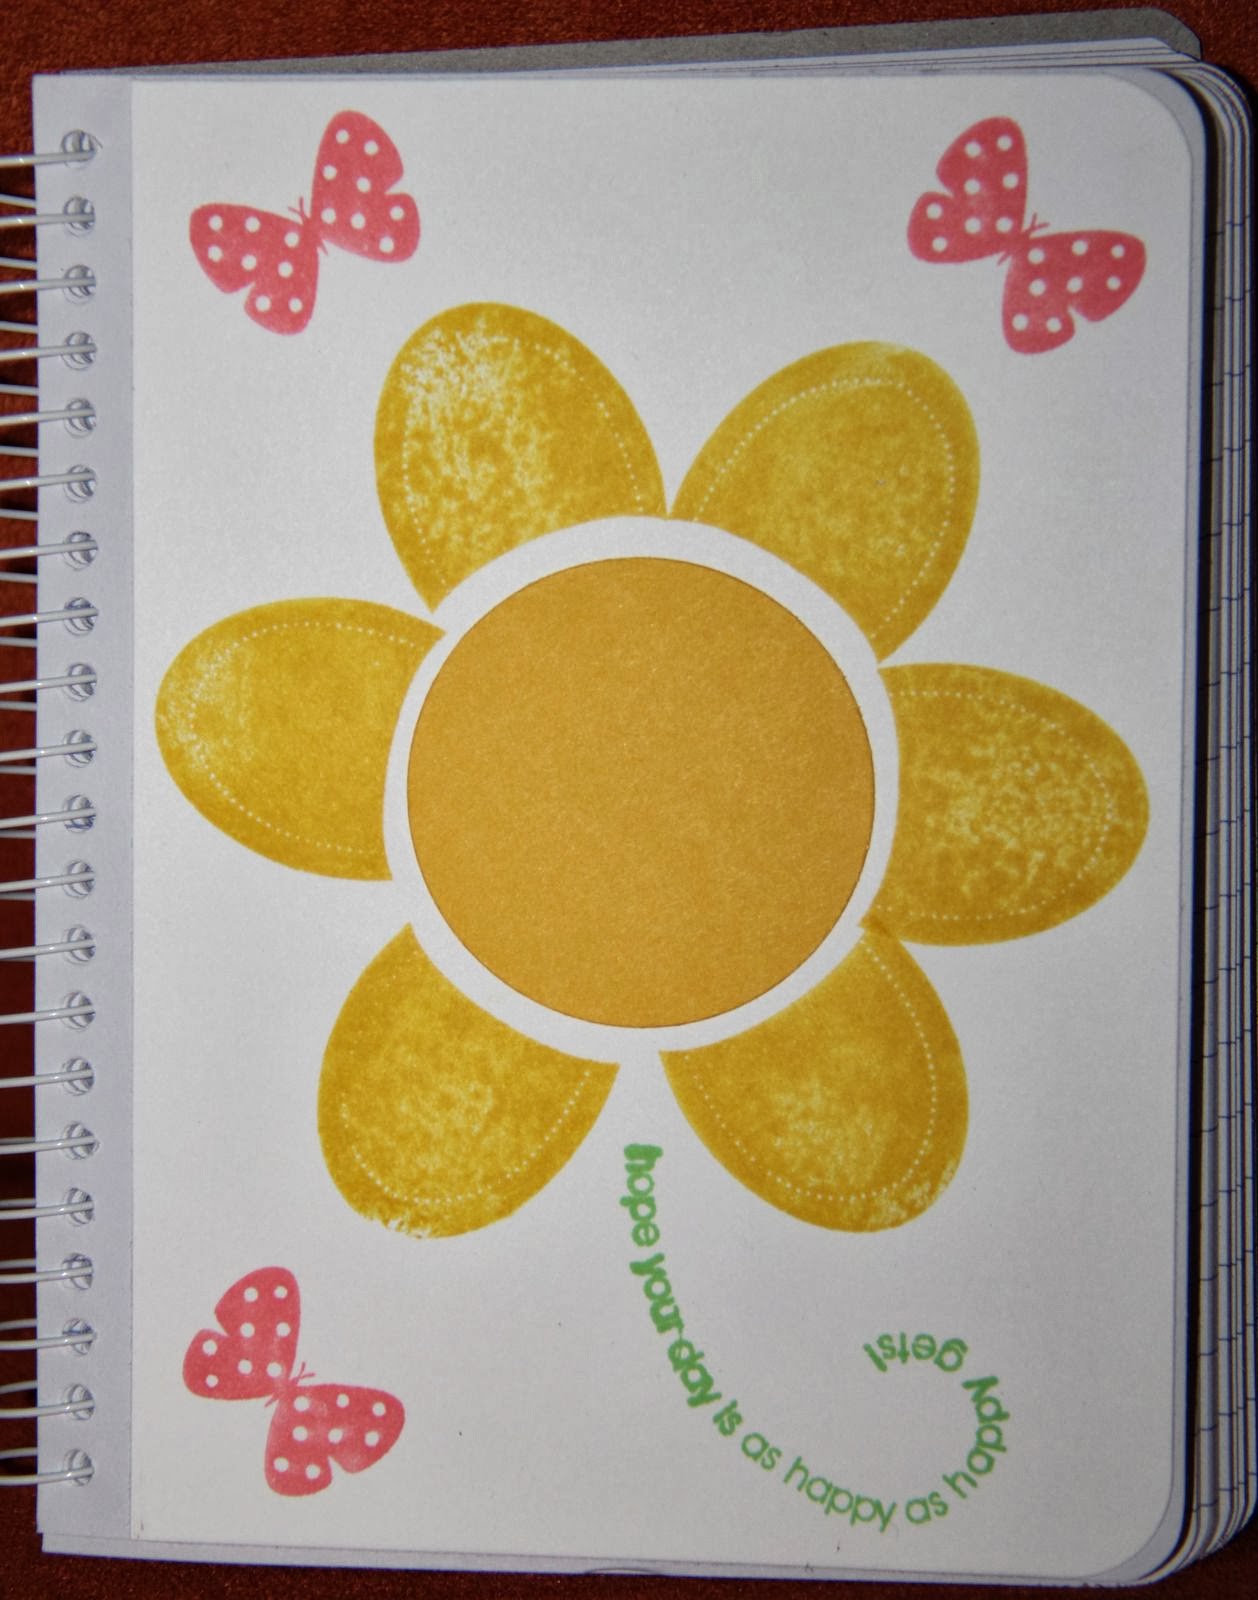
I can't get the picture to translate in a normal format (it is squishing it up), but you get the idea, I'm sure!

Colours used are (all SU) Very Vanilla, Night of Navy, Really Rust, Pumpkin Pie.


Sometime soon I will be blogging with some Christmas cards again.  Until then, I hope you've enjoyed my latest attempts at creativity.


Thursday 28 October 2010

Another Birthday

This week it was my other half's birthday.  Fortuitously, last week I received a little gift from my friend at my stamping workshop.  This little gift was fully used in creating hubby's birthday card, and I have been inspired with a few more stamping ideas during the creation process.

So what did I receive?  I was given some ribbon in "Elegant Eggplant" (dark purple - the hubby's favourite colour), a stamping spot in the same colour (a mini stamp pad), and a lovely heart stamp - I'm not sure what set it is from, but I LOVE it!

My challenge was that I don't have any cardstock in the same colour and no papers that include the same colour, so I had to put my thinking cap on to design something that worked well with my new colour ribbon and ink.

The result is here


I used Perfect Plum cardstock and I added some purple embellishments to give it a little extra oomph. The top section is popped up, which is a bit difficult to see in this picture.

I love it, the hubby loves it, what do you think?

Sunday 17 October 2010

Sunday card making

I had a couple of cards to make today.  One birthday card, again using Pony Party (I'm getting my money's worth out of this set!).  This might be my favourite pony to date.  I love the Almost Amethyst colour and Pixie Pink complements it beautifully.  Card stock is Almost Amethyst and Pretty In Pink.


We also have a little friend going to have her tonsils out tomorrow, so we wanted to send her a "Get Well" card.  I thought a vase of flowers would do the job nicely.  I used Good Friend for the flowers and stems and a 1 3/4" circle punch for the vase. 
Our thoughts are with you, sweetheart. xxx


Now I'd better go and make some dinner!  :-)

Notebooks

About a year ago, I bought a pile of A5 notebooks with the grand intention of making them into gifts at Christmas.  Well, Christmas came and went, and those notebooks were still sitting at the bottom of my wardrobe, waiting patiently for my interest and motivation to return.  After a good twelve months of procrastination, I have set to work on creating something with them.  I have three designs so far, and I'm really enjoying them. I have more in mind, and I hope to work on them over the next few weeks.


First was using Fifth Avenue Floral stamp set, which I love, it's very elegant.


Next, I used another set which I liked the moment I saw it, Artistic Etchings.  Not my usual style, but I like it anyway *smile*.  The background stamp is En Francais (French words) and it is a lovely element and I thought it was appropriate to use with the Eiffel Tower.


The third one I created today using Good Friend.  I borrowed this set because I have wanted to play with it for the longest time.  I'll be making another notebook cover using this set but with a very different result sometime soon.  I like this design, it's fun.


These are my notebooks so far, I hope you like them.  I'll show you some more soon!

Friday 15 October 2010

Dasher prototypes

Well, I finallly started working on Christmas cards.  This doesn't mean I'll actually finish them in time to send them for Christmas, but I have made a start!  Today I worked on creating some prototypes using Dasher to figure out what I would like to do with him.  I don't think I've found it yet, but I thought I'd share my progress. 

Using clear embossing powder mixed with dazzling diamonds glitter, I created twinkling stars and a snowy landscape - I'm not sure if you can see this in the picture.  I also added a little bling to his antlers, which is what I imagined doing the very first time I saw this stamp.  Colours are Not Quite Navy, Chocolate Chip, and Whisper White.


Then I thought I should try to go a little bit "Christmasy" with my colours, so I trawled through my papers to find something red and green, and came up with this one.  This card was supposed to be different, but I had a disaster with the ribbon that was unfixable, so it changed to what it is.  There are green hills this time, and sparkly antlers.


Because I hadn't meant to do so much colouring-in, I decided to move onto a more plain layout, and came up with this one, using silver embossing powder.  I made the bow using a fork, as I learned in one of my technique classes (thanks, Manda!)  I quite like this card.  But maybe it is TOO plain?


Then, because I am running out of black cardstock, I went looking for another colour to work with and found Almost Amethyst.  With the paler colour, it needed more matting to get an impact.  I don't mind this one's design either, but if I repeat it I'll neaten it up.


So, that is where I am up to so far.  I'll keep working on it.  By the time I find a design I'm happy with, I might have made enough cards to send to everyone anyway!

I'm loving Dasher, I hope you like him too.

Thursday 14 October 2010

World Card Making Day Challenge

For World Card Making Day, which was almost two weeks ago now, my stamping friend Manda set me and a couple of other friends a challenge.  For me, she gave me some 'scraps' that were originally intended for a mini-scrapbooking page, and sent me off to see what I could do with them.  These are the bits and pieces I started with. . .


I already had a technique in mind that I wanted to try out with my Eastern Blooms stamp set, which was to use the Stampin' Write markers to colour my big flower multi-coloured in browns.  So I borrowed the markers, and off I went!  I have to say, working with these today has me wanting to go and buy myself a full set of markers right away, they were so easy to use compared to my usual method for this type of work (don't ask. . . )

The card I have created has to travel overseas, so I have made it relatively flat to go through the post, where I would usually pop it up to give it a bit more impact.  The weather is a bit dull, so the photo isn't as bright as it could be.

Here it is, I hope you like it  :-) 


Ink and markers used: all colours Stampin' Up - Sage Shadow, Creamy Caramel, Close to Cocoa, Chocolate Chip, Really Rust
Cardstock: Chocolate Chip, Really Rust, Very Vanilla, and I'm not sure what was in the set of scraps (Kraft?)
Bling: Kaisercraft basics

Saturday 9 October 2010

Babushka Dolls!

The big girl and I recently had a trip to Melbourne as a part of her birthday celebration. While we were there we found the most beautiful shop called Babushkas, which sold . . . you guessed it, Babushka Dolls, otherwise known as Matryoshka Dolls.  It was like russian doll heaven.  Here is a quick snapshot.


And that is only a small selection of what was available.  We did take one set home as a birthday present, because they were irresistible!

As a result of this discovery, when discussing what birthday cake she would like this year, the big girl put in an order for a babushka doll cake.  My first reaction was, "Oh no! How am I going to do that?", but when she said to me (very generously) that I could just make a round cake and draw a picture on top, I decided that I ought to make a little effort.  So, after some thought, I came up with the basic design, and then I spent an evening colouring different quantities of icing to create the masterpiece.


Unfortunately, I didn't get a good photo of it once it was finally finished, but this was close enough.  The big girl was very happy and I had exceeded her expectations, so I was happy.  :-)  And Babushka was very yummy - white chocolate mud cake was hiding under all that icing.

I spent the week baking and also prepared a few treats to send to school.  I hear the tea cups were a hit.


The biscuits on the base were Tick Tock biscuits.  I usually use Marie biscuits and spread with melted white chocolate, but the Tick Tocks saved some time and tasted just as good. 

I have a little more baking to do tonight and tomorrow, and then I have a couple of weeks off until the next birthday. . .

Thursday 7 October 2010

And now for the photos. . .

After some initial technical difficulties, I have managed to work around my problem with uploading photos.  Obviously, I still have a lot to learn about formatting my blog, but I'll get there, hopefully!

Our first birthday celebration was the little girl's.  This card was one of the very first I made with my favourite new stamp set SU Pony Party.  The little girl was very happy.


The big girl's birthday was this week, and I repeated the pony theme.  After much soul searching as to how to make the card beautiful, and how to cut a circle without circle scissors (which I wouldn't recommend you try, just get the circle scissors, unlike me!), I came up with this. . .


The good news is that the big girl didn't notice the wonky circle, didn't notice my dodgy water-colouring, and didn't notice my imperfect cutting. . . she noticed the beautiful sparkly pony on the dark blue background, which she absolutely LOVED. 

Wednesday 6 October 2010

Birthday season

This first post comes in the middle of our birthday season, our busiest time of year . . . heading rapidly towards Christmas season!  As well as stamping all of my birthday cards, and making cakes, I am attempting to get my Christmas cards organised as well. . .   not having so much luck yet, but I still have time . . . don't I? 


The little girl and the big girl received a variation on a theme for their cards this year, and both were thrilled with their ponies.

I'm having some trouble uploading photos for now. . . I'll get to that later!

I look forward to sharing with you some of those things that keep me amused.